Step 2: How to create your blog?

If you’re looking to start your own blog, WordPress is the perfect platform for you. With its intuitive user interface and flexible customization options, WordPress is the most popular choice among bloggers. Plus, it’s free to use and easy to set up!
When you choose WordPress as your blogging platform, you can rest assured that your blog is built on a reliable, secure architecture. In addition, there are thousands of themes and plugins available for free or at a low cost, so you can customize your blog to perfectly fit your needs.
But before you jump in head first and start writing, there are a few things you should know about setting up WordPress. This tutorial will guide you through the steps of how to install WordPress on Bluehost, choose a theme that works for your blog, and install it. Let’s get started!
How to set up WordPress on Bluehost?
Bluehost offers an easy-to-use WordPress installer that makes setting up a blog a breeze. To begin, simply log in to your Bluehost account and click on the “Install WordPress” button. You will be asked to provide a few details such as the domain name, blog title and administrator username and password. Once you’ve filled in all of the details, click “Install WordPress” and wait for your blog to be set up.

Remember what you write in Email Address, WordPress Admin Username and Password. You will need them.
Congratulations! You just finished installing WordPress!
How to add a theme to your WordPress blog?
Once your blog is installed, it’s time to choose a theme. A WordPress theme is essentially the design of your blog, and it’s important to pick one that fits both your needs and aesthetic. There are thousands of free and paid themes available, so take some time to browse through them until you find one that you like.
When you create a WordPress blog, it will have a basic design like this:
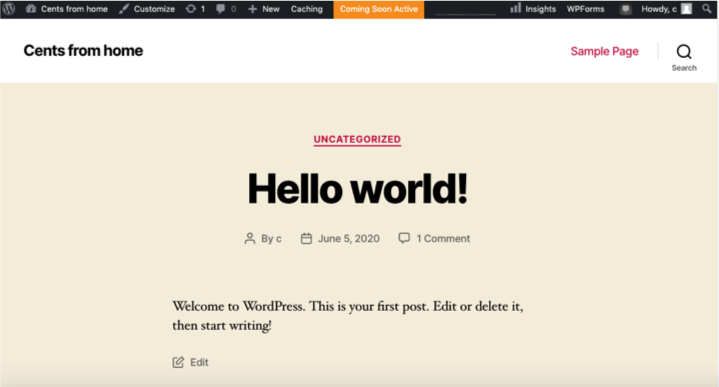
This simple design can be greatly improved.
Transform the look of your WordPress blog from basic to extraordinary with a new theme! The design and layout of your blog are managed by themes, the “outfit” that makes it both attractive and functional. Leverage WordPress’s wide selection of free or paid themes—head to Appearance > Themes on the left menu for access.
You will see a page like this:

WordPress comes with some pre-installed themes that you can activate. You can do this by hovering over one of the themes and clicking “Activate”.

In the upper area there are 3 links:
- Premium Themes: are paid themes that you can buy from WordPress.org
- WordPress.org Themes: are free themes from WordPress.org
- Upload: to upload a theme you bought from an external page
There are many many places where you can buy really good theme templates. These are the ones I recommend and that I trust:
- Envato (Themeforest): I bought my first template here for a food blog I had. It was super nice and I still recommend it.
- Studiopress: here you can buy the framework I use for this blog (Genesis) and check out the themes they offer. I am using the Foodie Pro theme, that even though it is focused on recipe blogs, it is also perfect for any other type of blogs. Why did I choose it? The truth is because I already had it, I love it and I have used it in different types of blogs: a recipe blog, a child activities blog and a party decoration blog. It is super flexible and I love it. You can check it out here.
Once you’ve settled on a theme, it’s time to install it.
How to install a theme on WordPress?
Installing a WordPress theme is easy and straightforward. To begin, log in to your blog dashboard and go to the Appearance tab. From here, you can upload or search for the theme that you want to use. Once the theme is uploaded, click the “Install” button and wait for it to be processed.
Once the theme is installed, you can activate it by clicking on the “Activate” button. You can also customize your theme by going to the Appearance tab and selecting “Customize.” Here you can upload a logo, change colors and more.
And that’s it! Congratulations, you have successfully set up WordPress on Bluehost and installed a theme. Now you can start writing your blog posts and getting your message out to the world. Good luck!
These steps are just the beginning of what you can do with WordPress. As you learn more about the platform, you’ll be able to explore more of its features and discover how to customize your blog even further. Happy blogging!
Next
Step 3 – How to create content for your blog?
Check other posts from this guide:
How to make money online: Blogging
Step 1: Getting started to start a blog
Step 2: How to create your blog?
Step 3: How to create content for your blog?
Step 4: How to promote your blog?
Step 5: How to monetize your blog?